

Acorn Dye
I grew up in woods filled with white oak trees. The big beautiful trees would drop their tiny capped seeds each season, covering the ground with a blanket of acorns. As I have experimented more with natural dyeing, I have discovered acorns produce incredible colors in the dye bath. On their own, they produce soft and rich shades of golden brown, and when dipped in a second bath of iron water, they produce stunning shades of gray, from soft and dusty dove to rich charcoal.
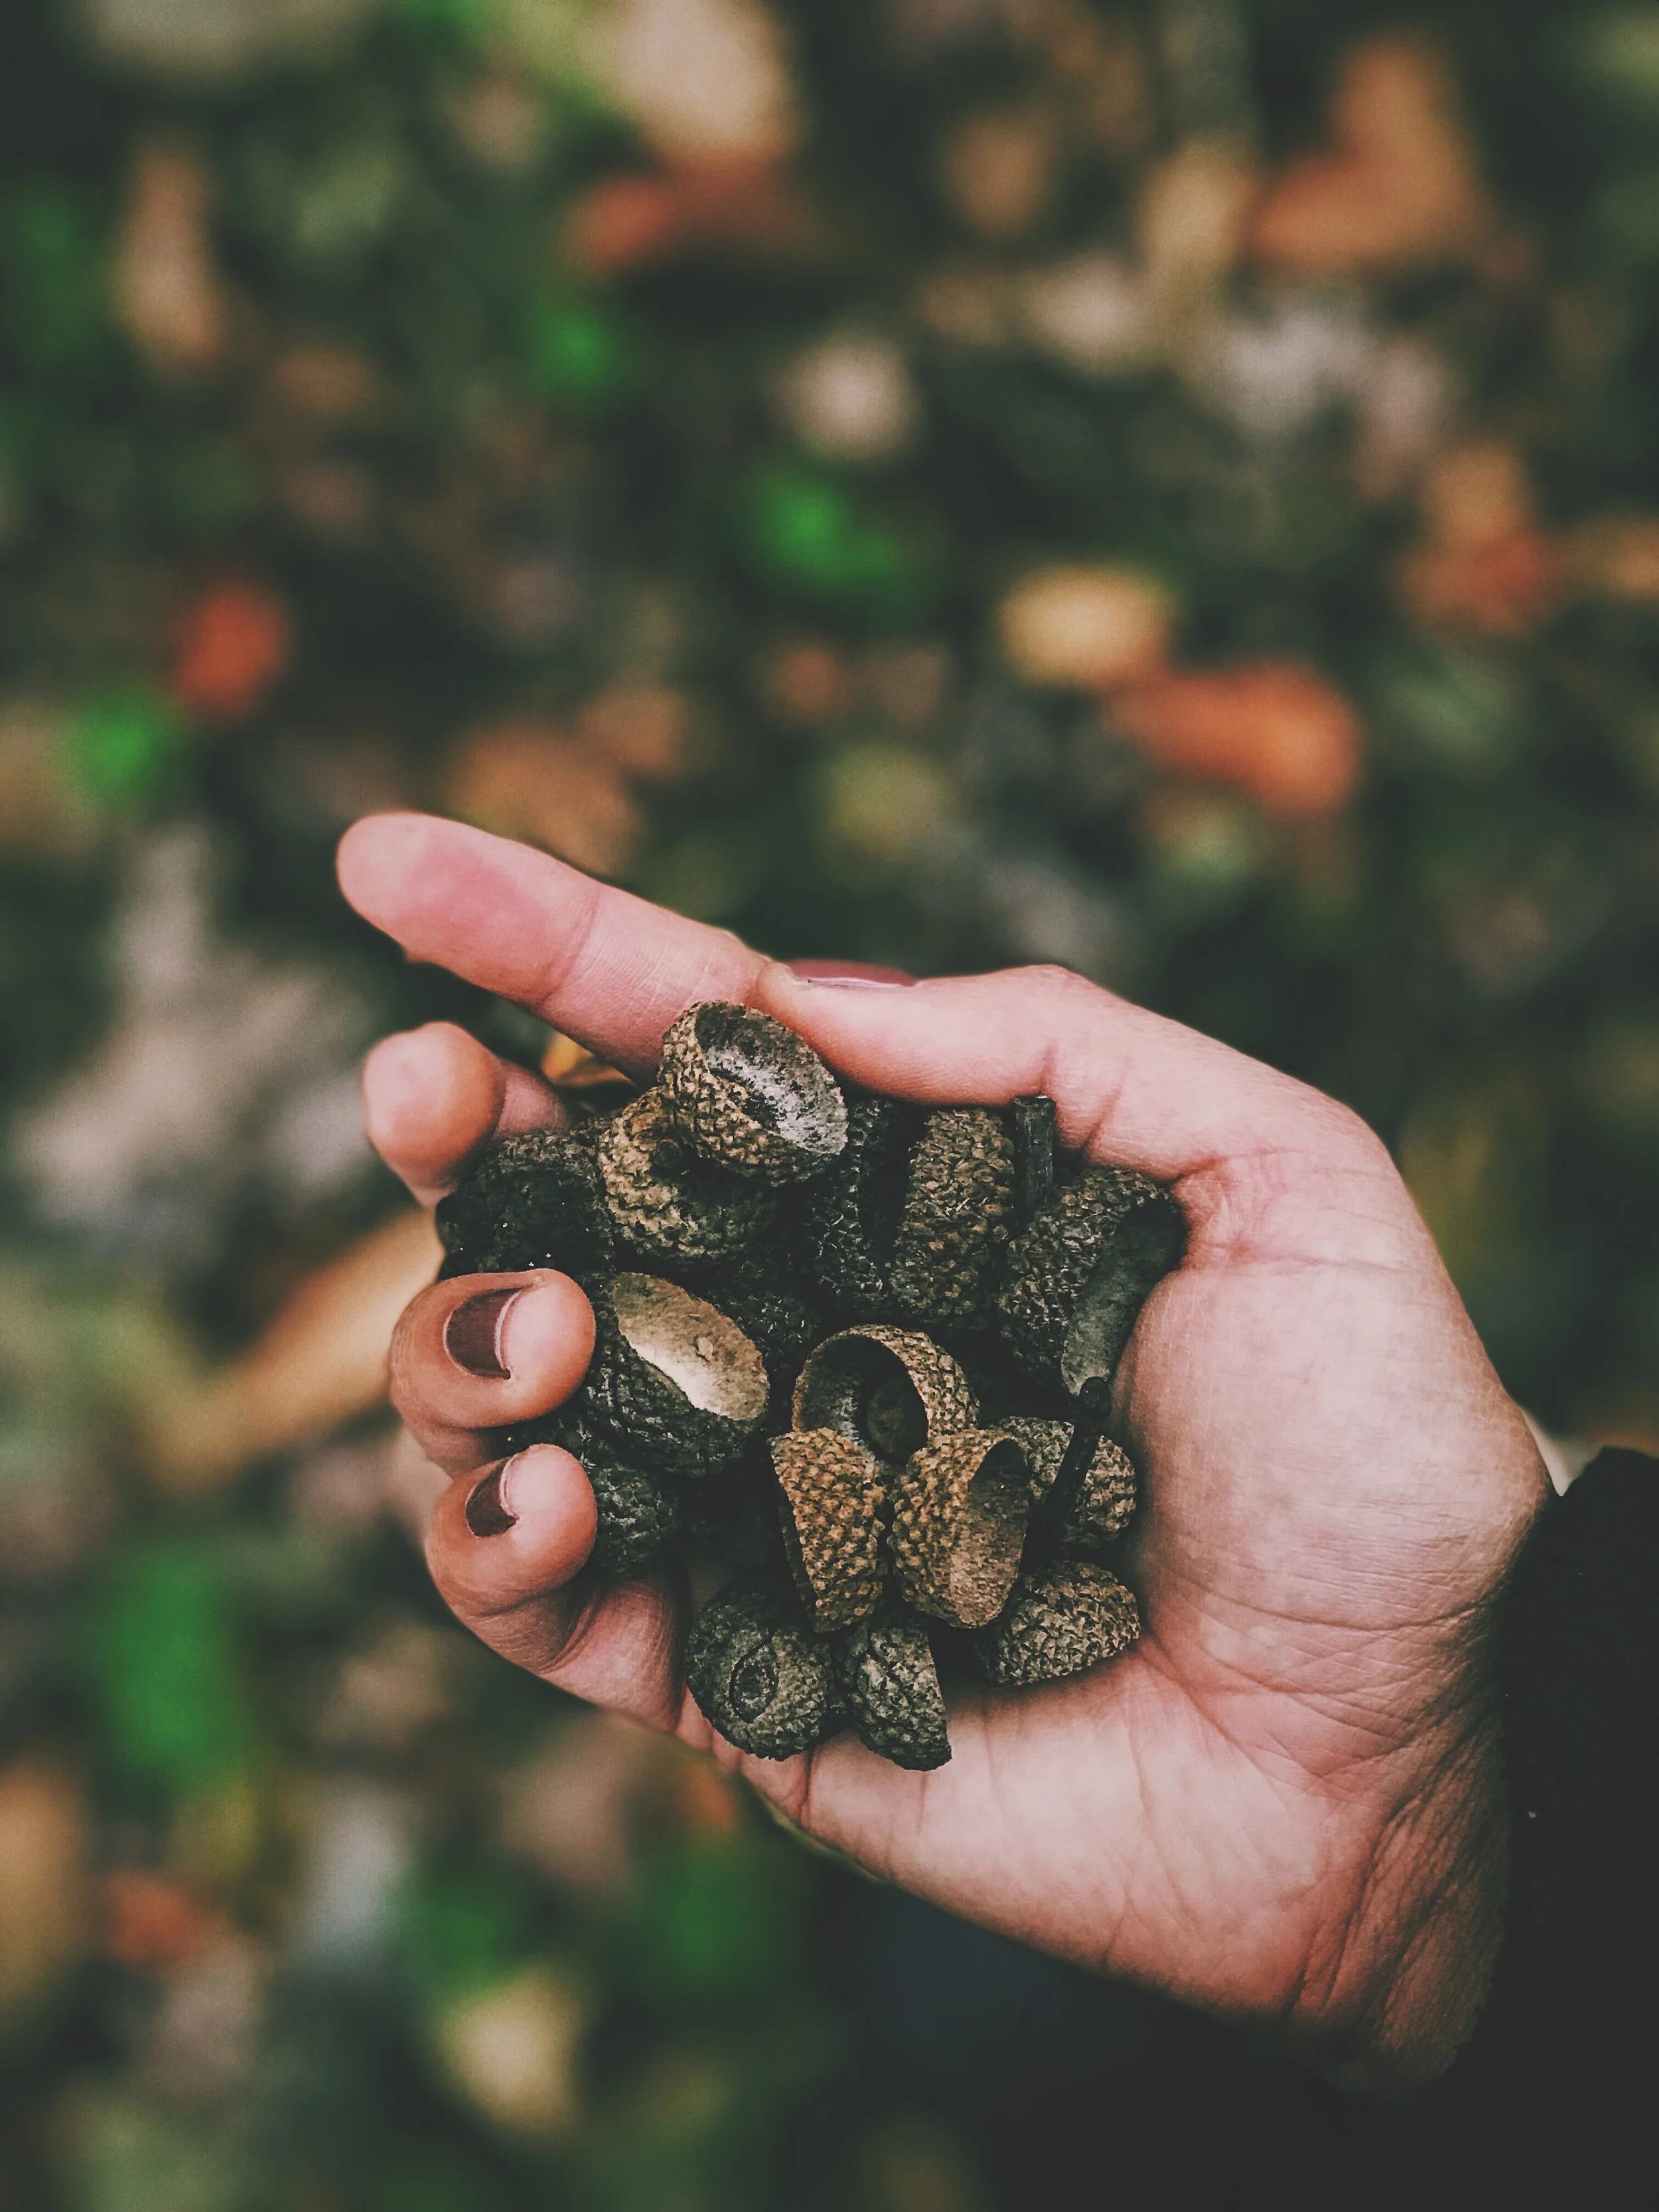
I have foraged acorns both as whole nuts and once they have sprouted. A sprouted acorn is really stunning - the inside of the nut turns an intense magenta. I currently have a dye pot of these sprouted acorns ready to dye with - I will update the post on if their red hue effects the bath at all. Very excited to see the results! As you start working with acorn dye, know both the caps and nuts hold dye potential, and can be used at any point from when they have fallen off the tree before becoming a sapling. Remember with any foraged material to only take a small portion, leaving the rest for wildlife and new growth.

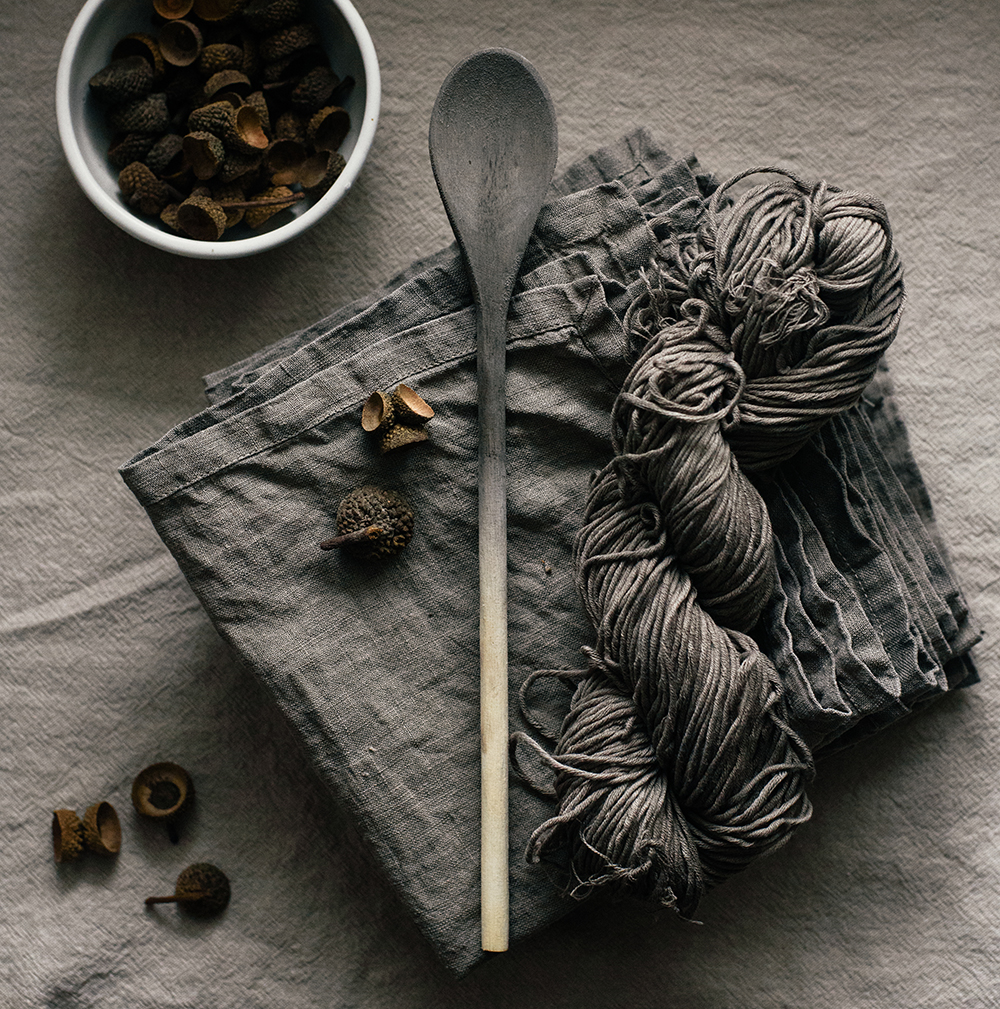
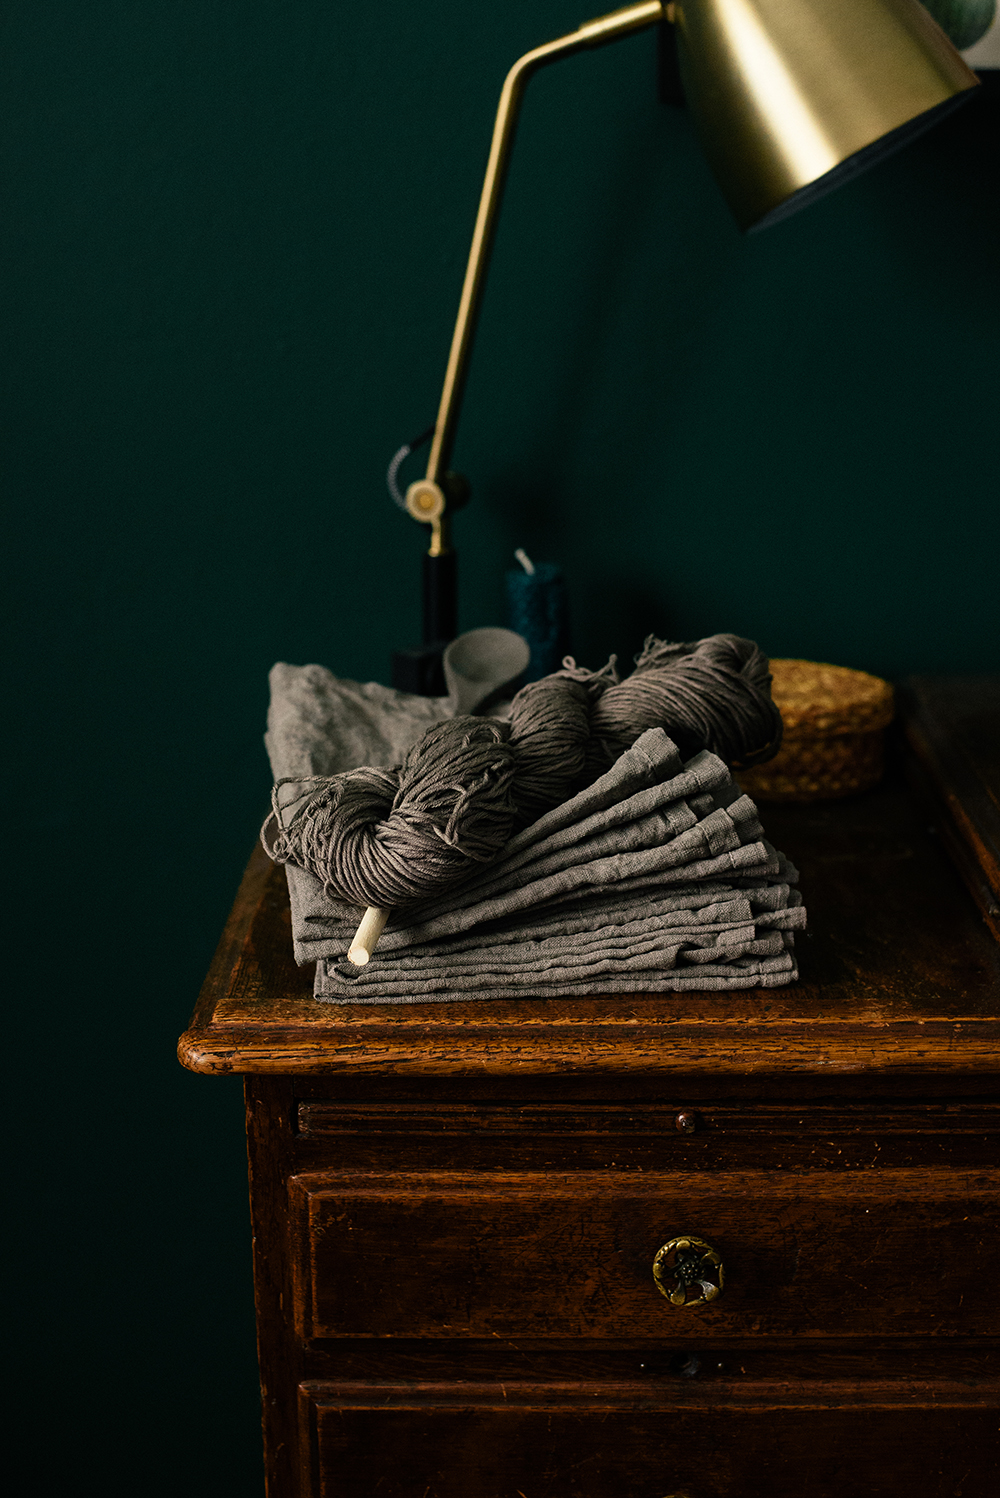
I have dyed a range of different fabrics and yarns in acorn dye, and found that dyeing linen napkins has been my favorite. It creates an incredibly rich table setting, adding warmth and earthiness to a winter dinner table. I love the idea of bringing the outdoors in during a season when not much can be gleaned from the outdoors. The linen also takes to acorn dye really well, making it a great first acorn dye project.
Below is my method for creating acorn dye - I am still learning and tinkering, and will candidly share when I am still working through a certain process. Dyeing does take time - from start to finish this process takes several weeks. I would encourage you to enjoy the slow pace - it will make the finished result all the more satisfying. For acorn dye, I have tested both mordanted and un-mordanted fabrics, and found little difference in the result. Acorns are rich in tannins, meaning they don’t need a mordant to set the color in fabrics. My method increases the amount of time fabrics spend in the dye to increase the intensity and setting power of the dye.

When I have a pot of dye, it is very hard for me not to fill it to the brim with yarn and fabric. Note that acorn dye has immense dye potential and can be used for several dye baths. The best dye baths allow your fabrics to be stirred easily and covered completely in the dye bath. I focus on dyeing linen napkins in this method, but if you fancy dyeing yarn, clothing or bandanas, experiment with the amount of fibers you add to the pot to have it still be stir-able. Note that all fibers must be 100% natural - synthetic or acrylic fibers do not take on color.

Materials
1 Ball quart jar with plastic lid of iron water: 1 part vinegar, 2 parts water, and 5 iron nails
2 lbs. acorns, nuts and caps
4 quarts water
stainless steel stock pot with lid, just for dye* (iron water can make other metals reactive, and ruin your dye pot for other uses. I would highly recommend using only stainless steel.)
wooden spoon just for acorn dye* (when using iron water, I stick to using one spoon just for acorn dye, so the iron water on the wooden spoon does not contaminate other dye baths.)
fine metal strainer just for dye*
large plastic bowl
old flour sack towels
rubber gloves
12 un-dyed 100% linen napkins
1 large pot
tongs just for dye*
Quick note on safety:
*never cook in a pot or use cooking utensils after you have created dye with it. Dye can be toxic to consume, so should not come into contact with food. Do not eat or cook while making dye.

Dyeing Process
Start by creating your iron water. I usually create mine in a glass quart jar with a plastic screw on lid that I reuse over and over for iron water. Place 4-5 rusty nails in the bottom of the jar, then fill the jar with one part vinegar and two parts water - I eyeball this on the side of the jar - it does not have to be exact, just a good mix of water and vinegar. Let this mixture sit for one to two weeks until you are ready to use it - it will take on a cloudy orange color when it is ready.
Thoroughly rinse off your acorns, removing any grass or dirt. Discard any acorns that are mushy. Place your clean acorns into your dye pot, covering with water, about 4 quarts.
Heat your dye bath on low until very warm - you should still be able to touch the outside of the pot for several seconds. Cover and let it heat at this temperature for 1 hour, stirring and checking the temperature occasionally.
Remove your pot from the heat and let it sit covered for one to three days to get the most color out of the acorns that you can. Check it daily to see how the color is looking, and make sure it is not getting moldy. You can store in a cooler location like a garage or basement to prevent anything getting moldy.
Pour your dye pot into a fine mesh strainer lined with a flour sack towel over a large plastic bowl. You can keep the acorns to create a second dye bath (yes! they are that full of dye!) or discard. Pour your dye bath back into your dye pot, and heat until warm.
Prepare your linens for the dye by bringing a large pot of water to a boil next to your dye pot. Drop your linens in and boil for 2 minutes. Remove each linen napkin from the boiling water with the tongs and drop them into the dye bath. Make sure all napkins are submerged in the dye, and can move easily. Add more water to the dye bath if they are not covered.
Cover and warm the dye bath over low heat for another hour, then remove from heat and let sit for three to seven days. The longer you can let it sit, the more dye your fabric will take on. I like to start fabric dyeing on a Saturday, and finish it the following weekend.
After three to seven days, wearing rubber gloves, remove your napkins to a sink. Do not rinse or squeeze out any dye from the napkins. You can save your acorn dye for another dye bath, or discard.
Wearing rubber gloves, pour your iron water through a flour sack towel-lined strainer into your now empty dye pot. Add 4 quarts of warm tap water and stir to distribute the iron water. You can either fill your jar back up with vinegar and water using the same nails, or discard. Do not repurpose the jar for anything but iron water.
This is where the magic happens!!! Add your napkins to the iron water pot, stirring gently to make sure they are covered in iron water. Add additional tap water if needed. Watch as your napkins go from brown to gray! You can remove your napkins using rubber gloves or tongs at any point during the iron water bath - it just depends on what color you like. If you want to deepen the gray, let the napkins sit in the iron water 10-20 minutes, then heat very gently over low heat. Watch this very carefully, as iron water can leave large rust patches on the material if overheated. Do not hear for more than 10 minutes. Once the 10 minutes are up, or the desired shade is reached, carefully remove napkins using tongs and discard your iron water. Iron water is safe to rinse down the sink.
Using rubber gloves, squeeze all access dye out of your fabric, and rinse well. Wash your linen napkins on the hand wash setting on your washing machine using a free and clear laundry detergent. Line dry. Enjoy your stunning creation at your next cozy winter dinner.


